Create a traditional photo album starting from your best shots, select and manage the images, choose the right album,...
Latest posts
-
 How to create a traditional photo albumRead more
Blog categories
Search in blog
Archived posts

How to create a traditional photo album
Nowadays taking photos has become an extraordinarily daily, spontaneous and compulsive act. It's fun, but what to do when your devices are full of images?
Do you need some advice?
Making photo albums doesn't make us experts in photographic composition, photo editing, etc., but it doesn't prevent us from giving you advice on how to compose a traditional photo album and have fun.
The reasons for doing it are multiple and personal. Memories are precious, they are part of our life, of our temporal and emotional consciousness.
It's important to preserve, pass on and share our best days with others, with the little ones and leave a trace for those who come after us.
Cloud, photo book or..
If you prefer to leave your material in cyberspace, you'll find many tips and cloud storage solutions online, so as if you decide to make a photo book, video, etc.. But, if you really want to try your hand at creating a "traditional" photo album, these lines are for you.
Select the material
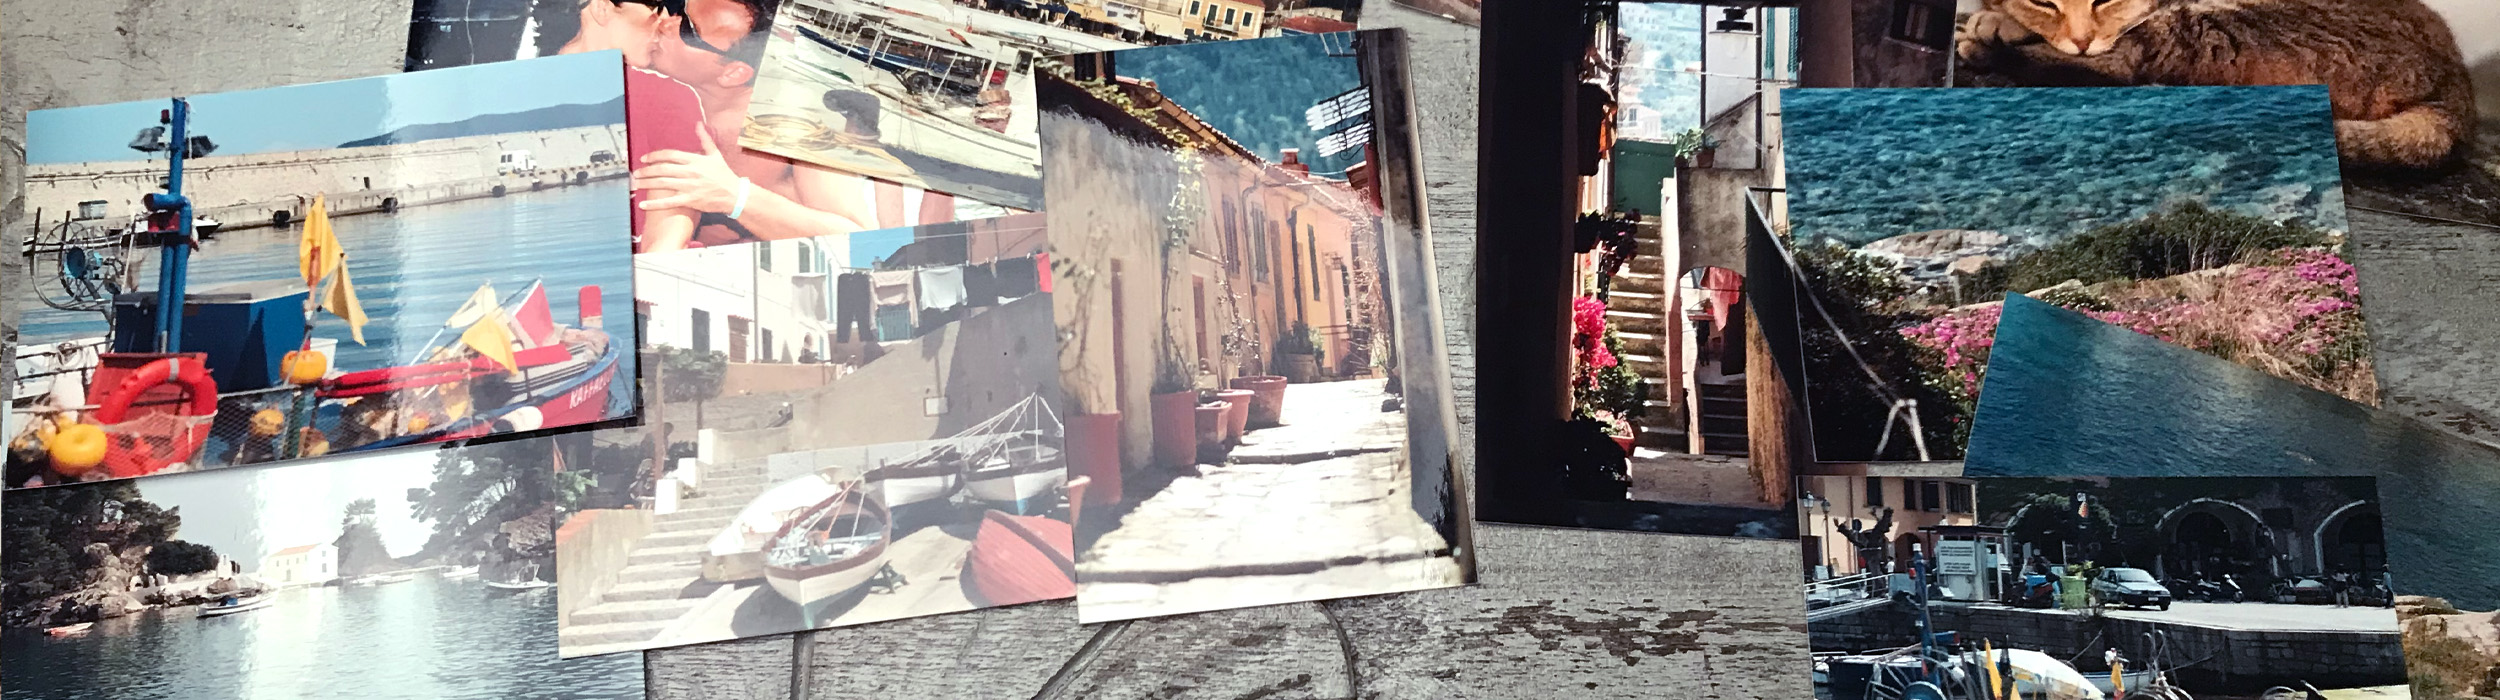
If you have the ability, download the photos to your computer (always make a backup copy) and start separating the most representative shots from the less interesting ones, placing them in separate folders.
Check again!
How many photos did you select? 10, 100, 500? Be rational in deciding how many images are needed to describe the event in a pleasant and comprehensive way. Were you too drastic? Go back and look at the photos you discarded, maybe you missed something. Let yourself be enveloped by the atmosphere of that day and discover new narrative plots.
Are there double or triple photos? Choose the most representative.
Are there any photos you would like full page? Set them aside because they will be printed in large format.
Are there two or more shots that tell the emotion of a moment? For example, from the arrival of the cake to the blowing out of the last candle. Good! Let's create a sequence.
Improve image quality
If necessary, work on the selected images with a photo editing program to improve the framing, lights, contrasts, add filters, etc. until the desired result is achieved.
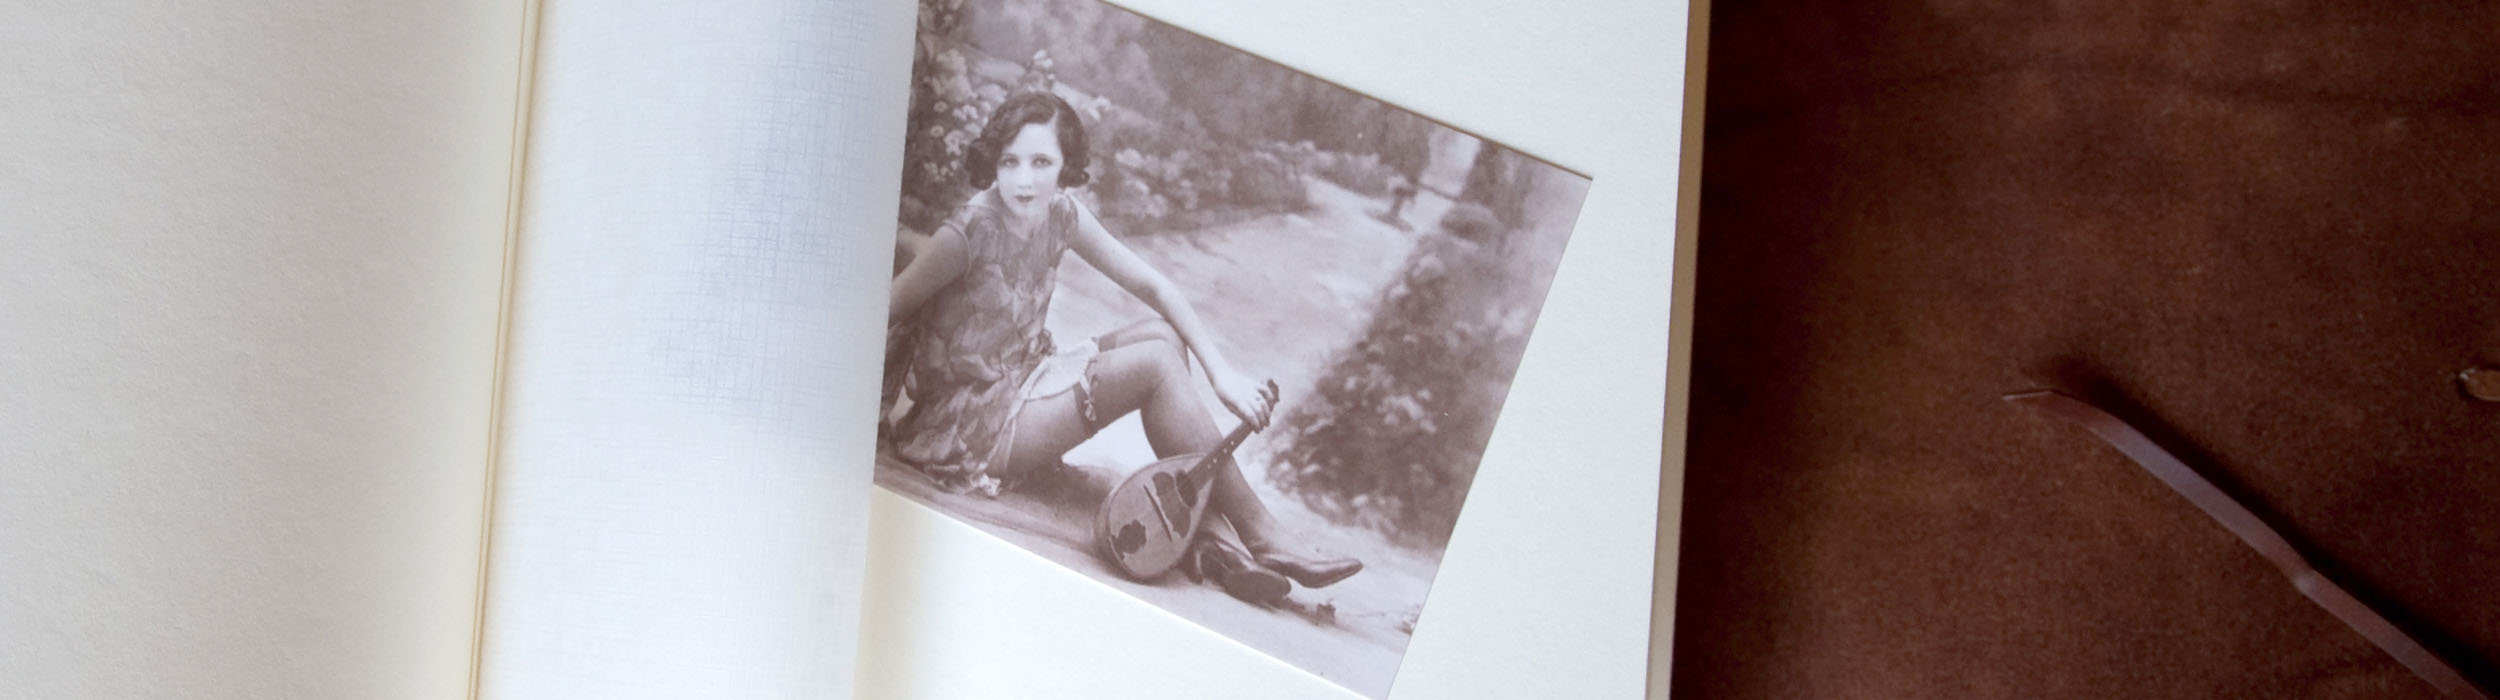
Are there imperfect images of people that absolutely cannot be missed? No problem, play with the shots and filters to make them a little more pleasing.
Oh, what a shame! It was such a beautiful photo but it was blurry. Don't give up. Some blurriness is acceptable here and there throughout the story.
If you think all this is too much for you, then why don't you rely on the experience of a professional photography studio?
Print the photos
Now that you know which and how many photos you need, it's time to decide on the print format. Are there horizontal and vertical photos? Be careful because this will affect the size of the photo album.
We always recommend printing photos on quality photo paper. After all, these are memories destined to last as long as possible.
What type of album is best suited to your photography project?
Our small photo albums are designed to contain single photos printed in the standard size (4x6 and 5x7 inches) and Polaroid-type photos.
- cm 21xH19 (8.26x7.5 in),
- cm 21xH25 (8.26x9.84 in)
- cm 23x23 (9x9 in),
Larger albums allow you to mix full-page photos (ideal for portraits and top moments) with two or more smaller photos (to tell what's happening around, to describe the location and other smaller details). This will make the narrative richer and more interesting.
- cm 24xH30 (9.44x11.8 in),
- cm 30x30 (11.8x11.8 in),
- cm 33x33 (13x13 in)
Travel and nature photos find their ideal location in a panorama album.
- cm 35xH24 (13.77x9.44 in) landscape/horizontal
Maxi-format albums are perfect for treasuring high-quality images taken during important occasions, personal events like weddings or birthday parties, large public gatherings like corporate events, galas etc.
- cm 35x35 (13.77x13.77 in)
- cm 42x42 (16.5x16.5 in)
Important: all sheets have a raised edge on the inside. Its function is to "absorb" the thickness of the photos and allow the album to assume the correct position once completed. The width of the border varies from 1.5 to 2 cm, depending on the size of the album. This border slightly reduces the area of the sheet. You need to take this into account and check the exact size of your photos before choosing the most suitable album size.
Let's compose the album
It's a fundamental step. Wait for the perfect day to take it. Time and a right state of mind are essential ingredients to tell a story. Arrange the photos on the table and start building a sequence.
Mix candid, romantic, dynamic, lively and essential photos and make the necessary changes, until you get to the right "script". Don't forget to add some imperfect shots and a few secondary images here and there to give substance to the story.
Relax, let your imagination and emotions guide you (and enjoy your time).
A composition usually follows a temporal progression, but you can also decide to explore new emotional paths. It all depends on the subject represented and your sensitivity.
Our albums contain 30 or 60 sheets, (therefore 60 or 120 sides), depending on the format and type of binding. It's an important detail. How many photos does your project consist of? If one album is not enough, consider dividing them into two or more, finding a different narrative key for each of them.
When you are satisfied with the work, fix the sequence by numbering the photos on the back, so as not to risk losing the work done so far.
Tools in hand: it's time to attach the photos
Hot glue, glue sticks, adhesive corners... we especially like split photos. They're double-sided adhesives that are very easy to apply and allow you to remove the photos without damaging them. However, we always recommend having a clear sequence before attaching the photos, to avoid making too many changes in this closing phase of the project.
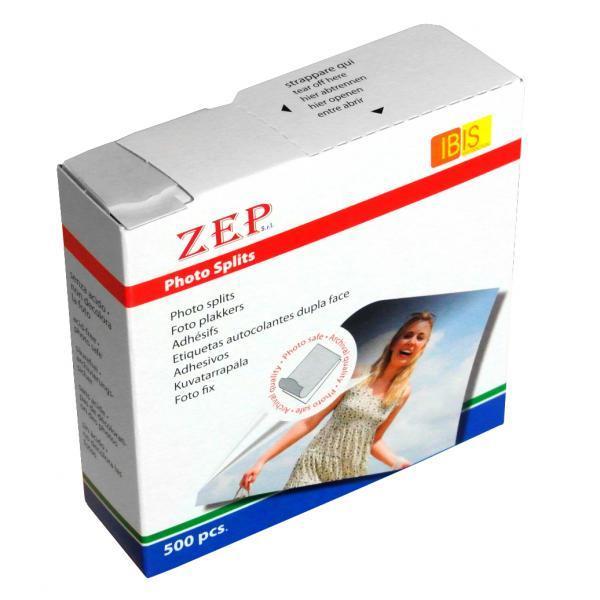
Example of double-sided adhesive stickers
At this point, if you feel inspired, you can add captions with the names of the people portrayed and places or add comments on the mood etc.
And voila! It was fun, right?
One last little tip. After working so hard on the composition, take a break before fully enjoying the work done. Put the album away for a few days or weeks. The curiosity to flip through it will return spontaneously. It's a promise.
Good work!
Posted in:
Photo Albums
Leave a comment